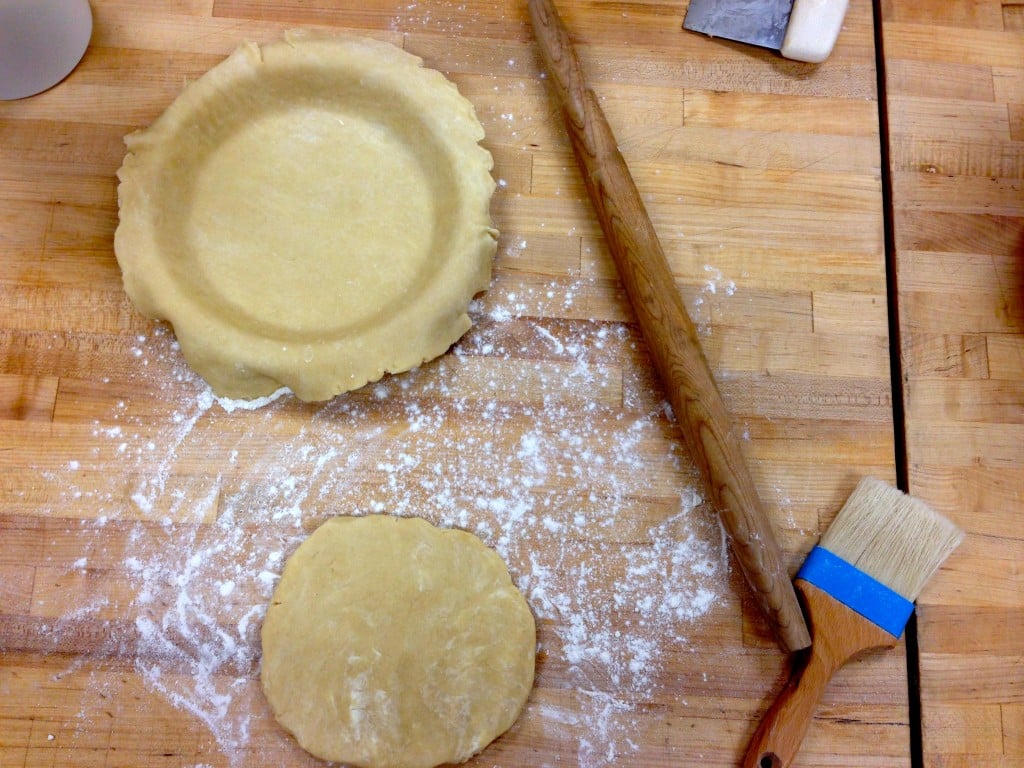
Every fall, I get really excited to bake pies for the holidays. I start planning months in advance, reading articles, picking out recipes, and even doing test runs. But somehow, once it’s game time, disaster strikes. The food processor breaks, I burn myself or the crust burns and shrinks You name it and it’s happened. After witnessing a few holiday meltdowns, my neighbor Chris started keeping extra boxes of pie dough in her freezer ready for me to use as backup.
This year, I won’t be having any pie dough problems. Last weekend I took the Baking Pies A Plenty class at Bake!, Zingerman’s hands-on teaching bakery. If you want to learn how to bake something the right way, using the proper techniques, and resulting in the best tasting finished product, go to Zingerman’s BAKE!. Not only will you learn an incredible amount about baking but you’ll have a ton of fun in the process. Zingerman’s Bakehouse is phenomenal and by taking a class at BAKE!, you learn the exact recipes used in the production bakery next door.
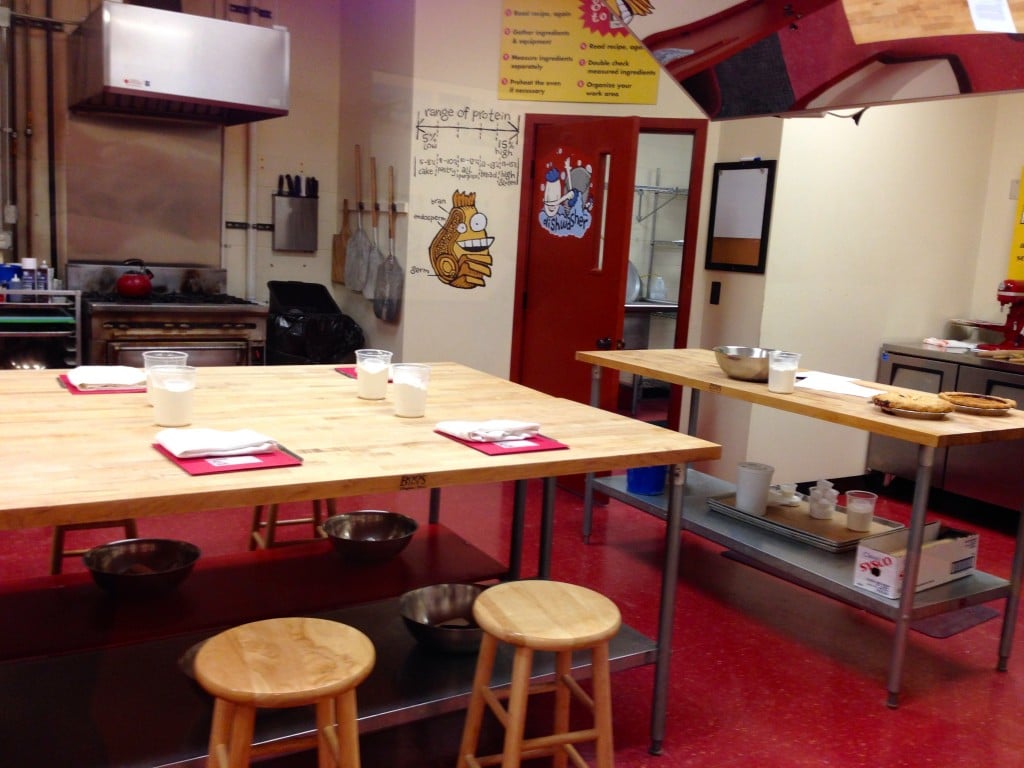
The best part about Zingerman’s BAKE! classes are the staff and the facilities. They have everything measured out in advance so you can focus on learning the technique and don’t have to worry about weighing ingredients. The instructors are constantly coming around to pick up empty containers, keeping the workspace clean and organized, and keeping a watchful eye on you to prevent any mistakes.
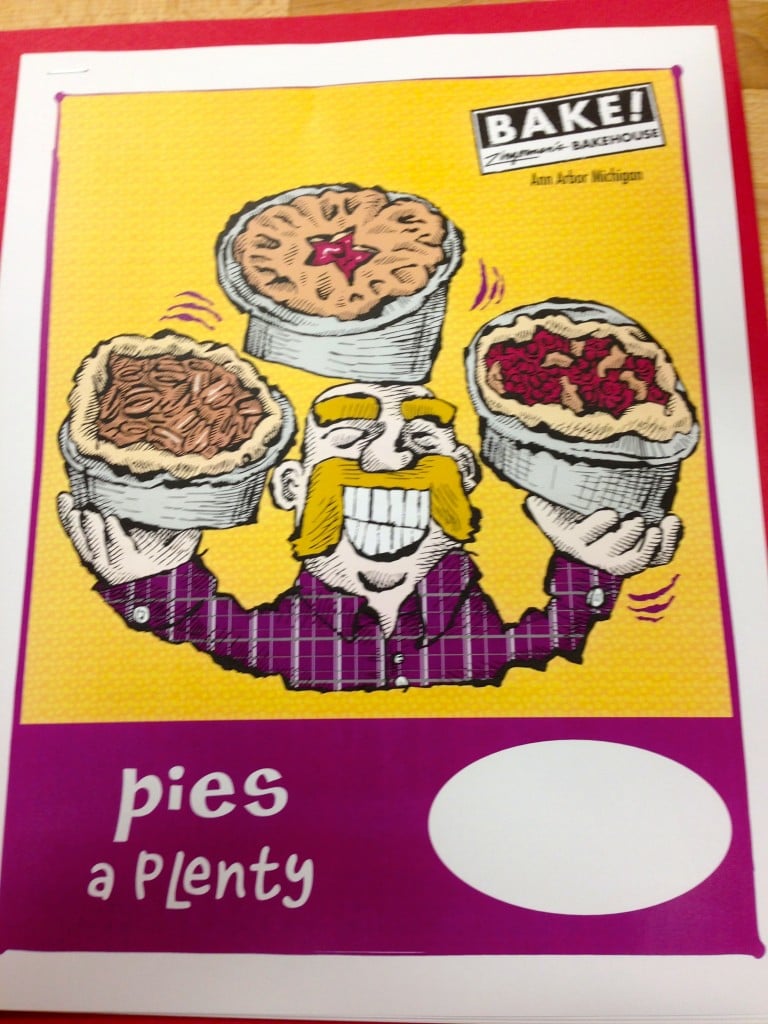
You’ll be given a booklet that includes the recipes, techniques, and important information on ingredients.
All of the needed tools are set out at your station with your portioned ingredients. If you use a tool and need it later in the class, a clean replacement magically appears.
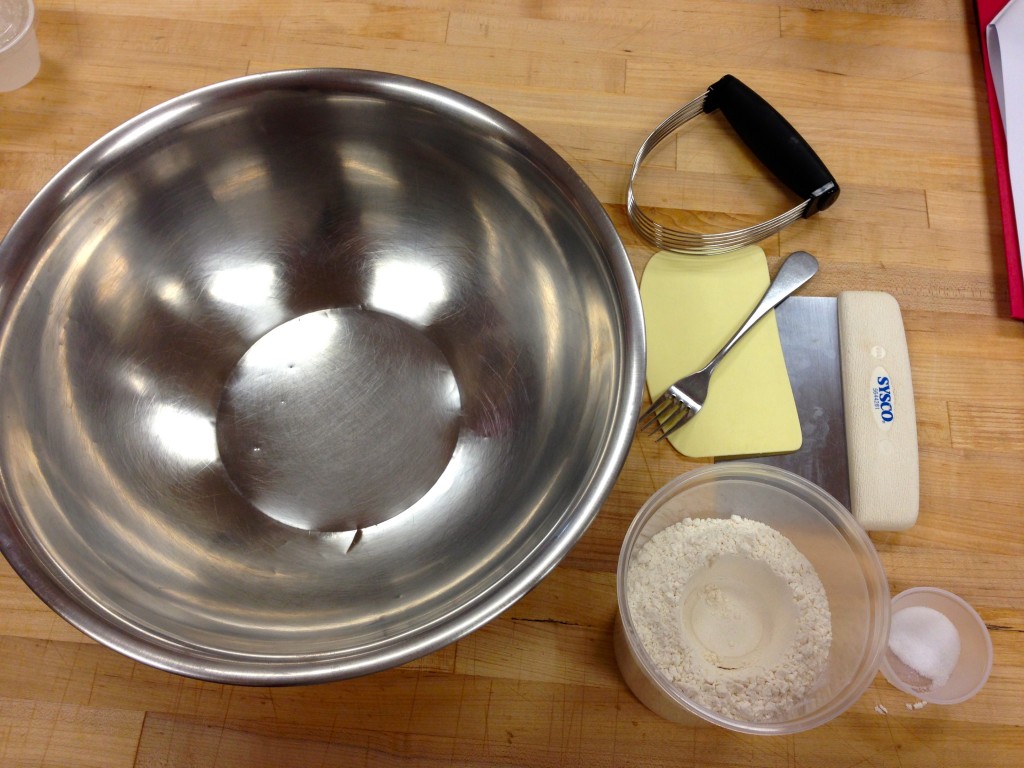
I learned so much about making pie dough in this class. While I was familiar with the basic technique, the tips and tricks shared by our instructors, Dan and Lauren, were invaluable.
[heading_entrance title=”Zingerman’s Tips for Great Pie Crust” text=”” custom_class=””][/heading_entrance]
These are adaptable to most pie dough recipes but to learn to make the best crust ever, sign up for the Pies A Plenty Class at Zingerman’s Bake!
1. Start with really cold butter cut into 1/4 inch cubes. The smaller the butter is to start, the easier it is to incorporate.
2. Take 3/4 of your butter and use your hands or a pastry blender to incorporate it into the flour (or encapsulate). You want to work the butter in until there are no large chunks and it’s basically one with the flour.
3. Take the last 1/4 of the butter and work it into the flour. You want to leave these chunks a little larger, about the size of peas.
4. When you add your water, create a well in the center of your butter/flour mixture. Pour the cold water into the well and make sure it forms a lake. If the water seeps into the flour (and the lake disappears) your butter is not incorporated well enough and you need to start over.
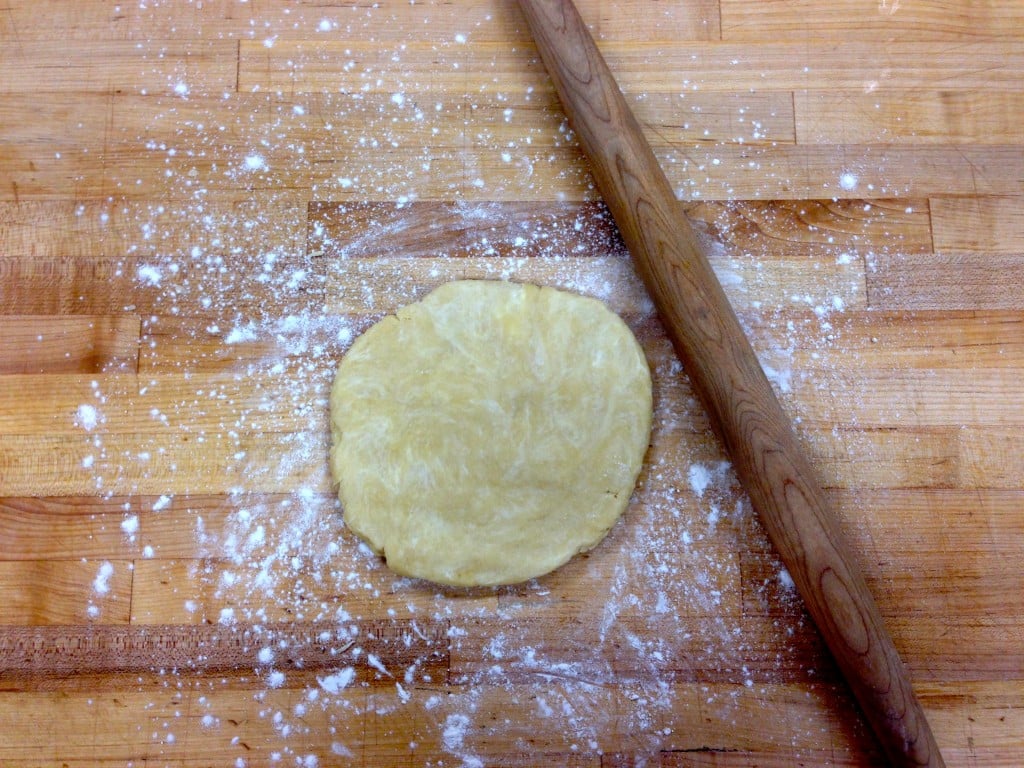
5. Now is the most exciting part, the schmear technique. I had never heard of this method before but our instructor Dan said that it actually dates back to Escoffier. Once your dough comes together, you ball it up and turn it out onto the counter. You then press your hand down and schmear out a section of the dough, and then continue and repeat until the entire ball of dough is schmeared out on the counter. Then, use a bench scraper and ball it back up and chill for 1 hour. The purpose of this is to incorporate pockets of butter throughout the dough. After schmearing, if the edges are dry or crackly, your butter is not incorporated well enough and you need to schmear again.
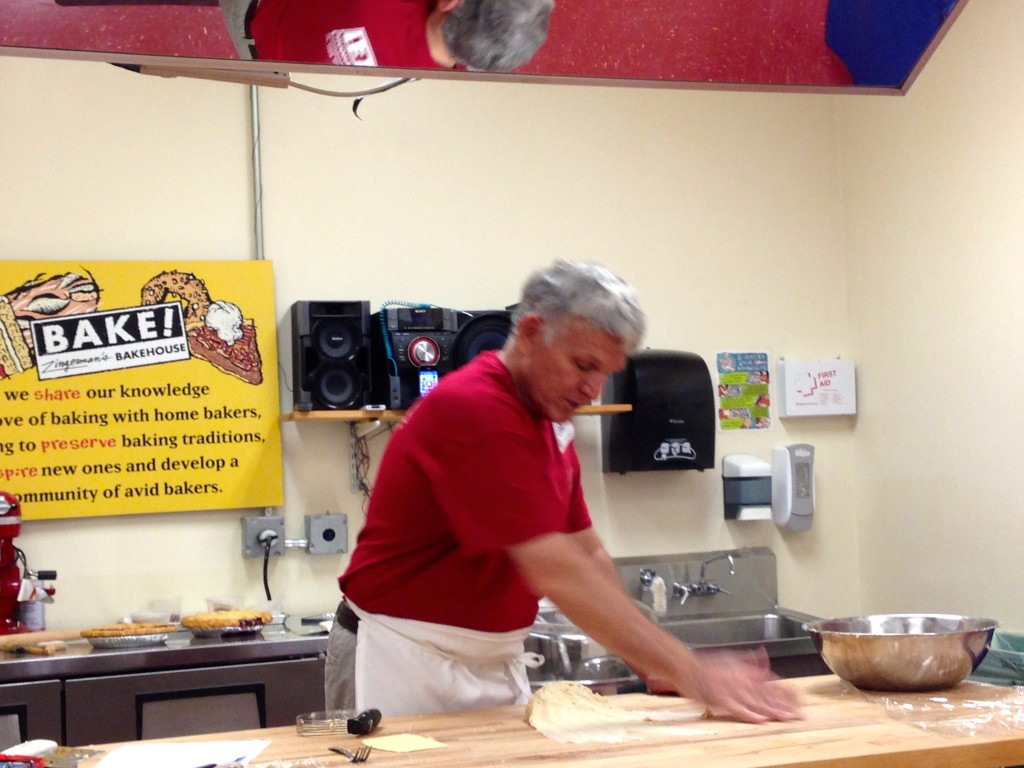
Here you can see how he starts the schmear using the heel of his hand. This mirror above the demo table ensures every student has a perfect view.
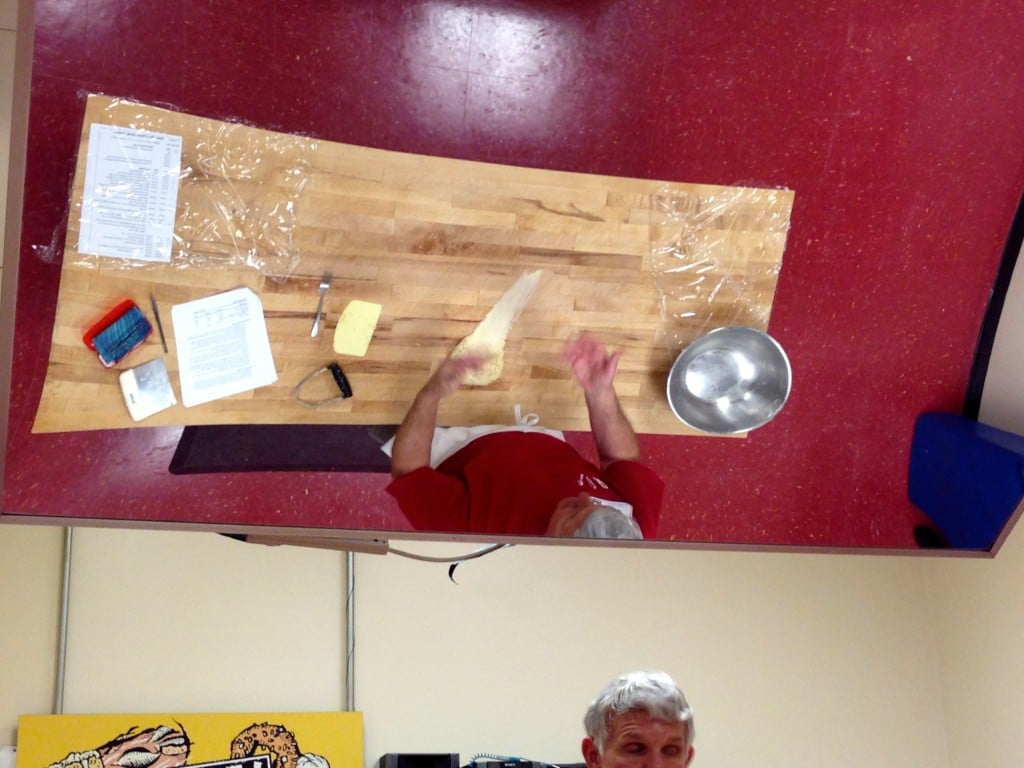
All schmeared out.
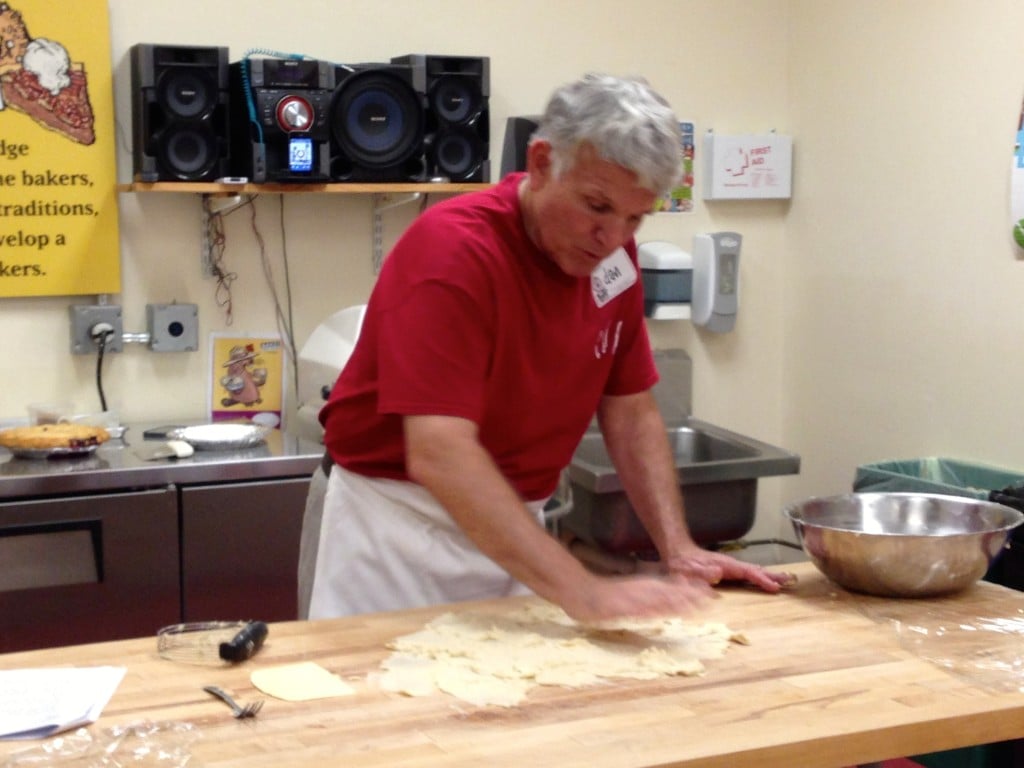
6. When rolling out your pie dough, only make 1/8 inch turns between rolls. This helps to keep the dough circle in shape. Also, don’t roll all the way to the edge of the dough. This makes it stick to the counter.
7. Only roll the dough out to about an inch larger than your pie plate. This prevents wasted dough and a thin crust.
8. When putting the dough in the pie plate, gently press the dough into the bottom edge of the pie plate to make sure the dough is fully settled into the pan. This prevents sinking and shrinking when baking.
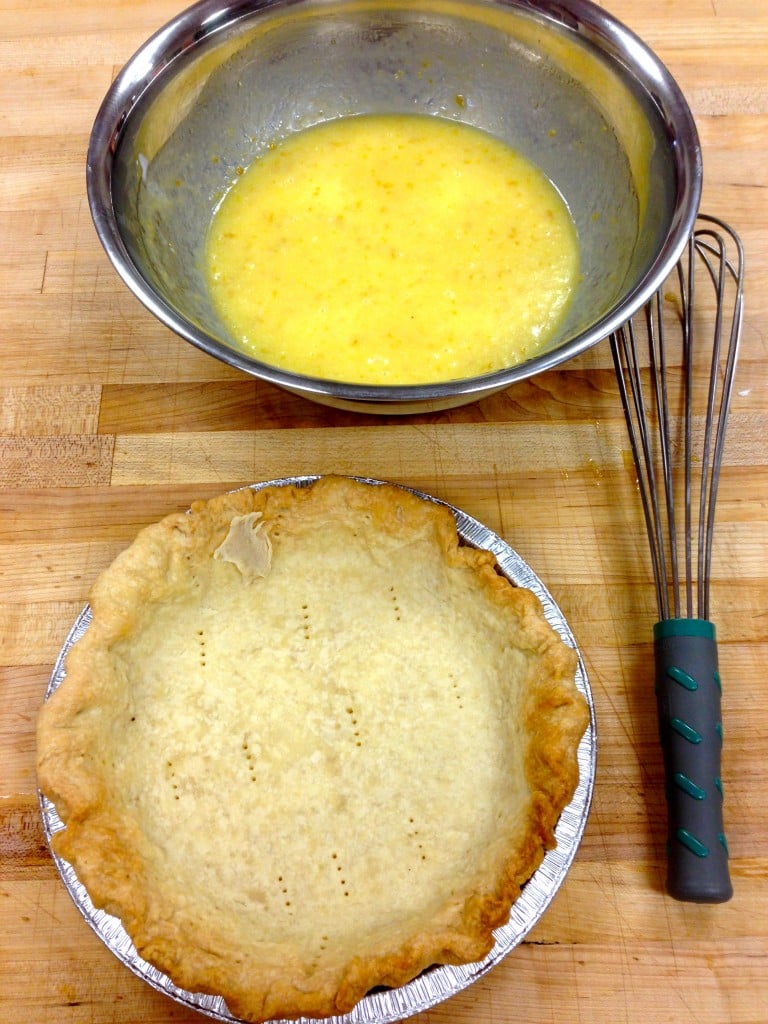
We blind baked the crust for the lemon chess pie. Since it’s a custard-based filling with a short baking time, blind baking ensures a finished crust.
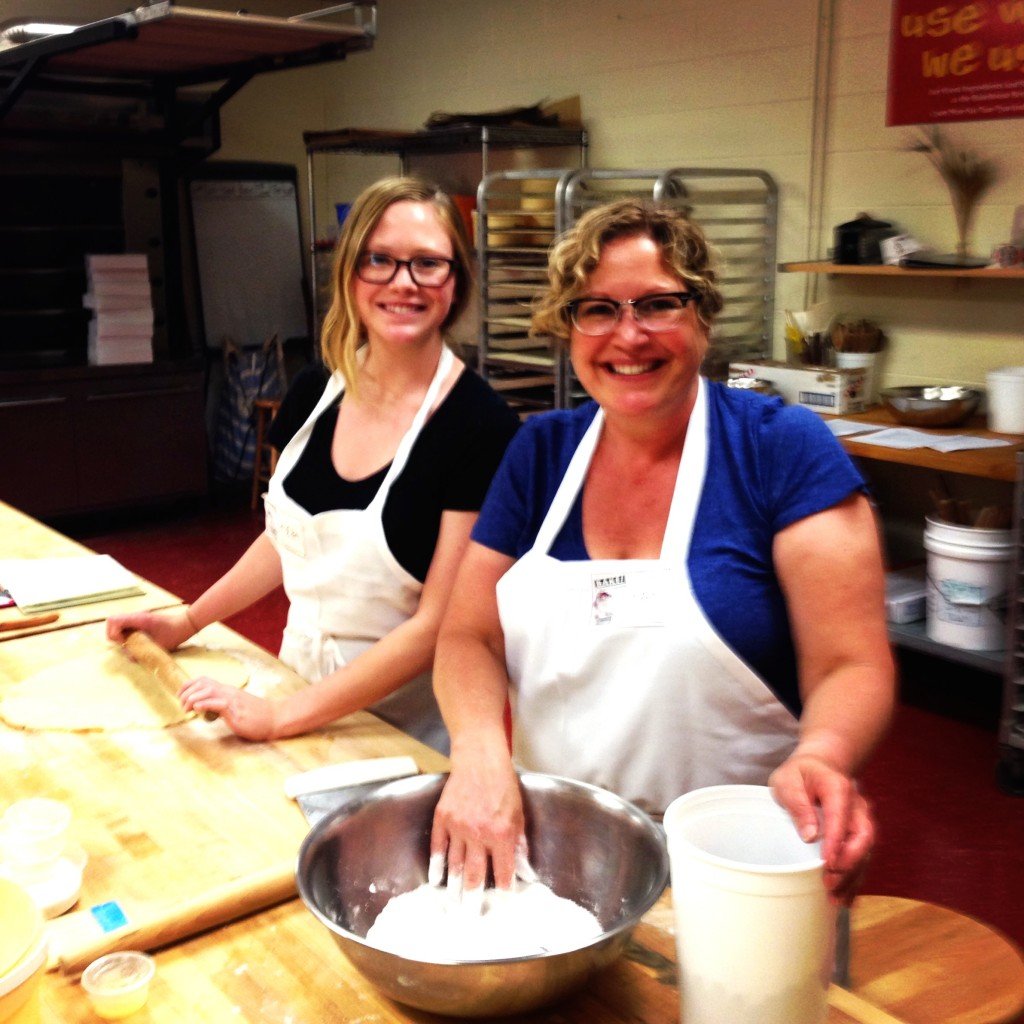
I’ve taken 6 BAKE! classes with my mom – croissants, baguettes, coffee cakes, challah, Italian, and pies. She took the brownie class without me. Next on our list are cream puffs, Buche de Noel, and biscuits/scones. Check out the full class offerings here.
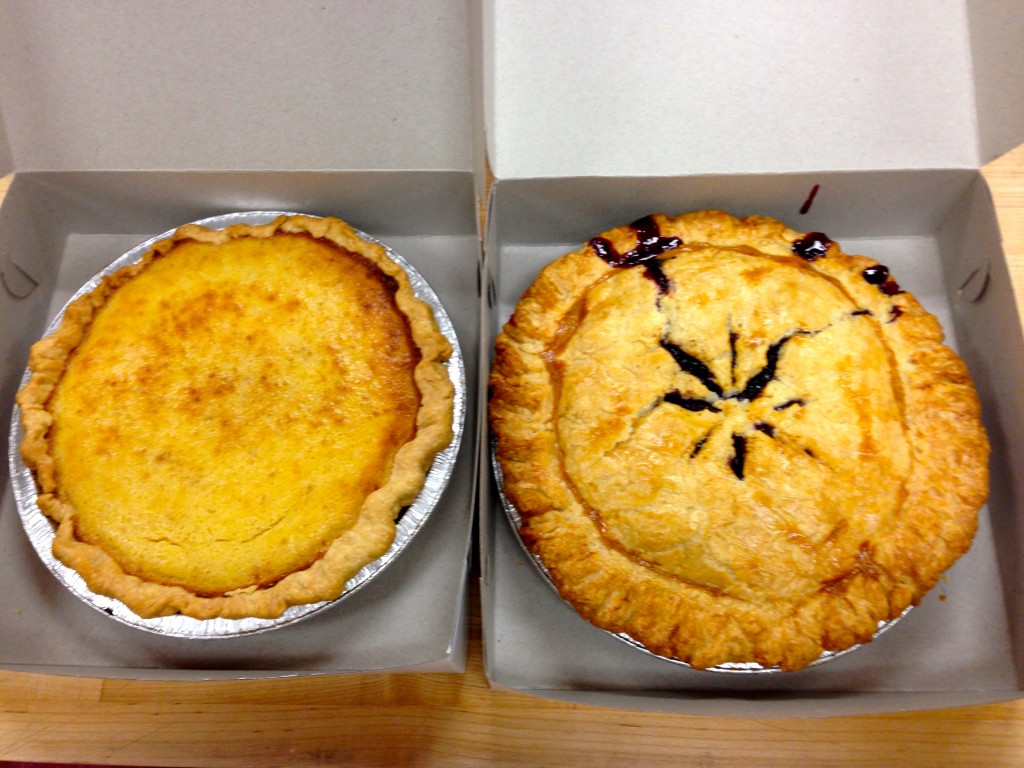
The best part of any Bake! class is the tasting at the end. We were given a slice of each pie to enjoy while tasting and discussing how the methods and ingredients affected the final product. The amount of food you can take home can be overwhelming (several baguettes, multiple boxes of croissants, etc.) but your friends and family will love you for it. They are really great about labeling everything so you know you are taking home the exact pies you made, not those of another classmate. Here are my finished pies that I took home:
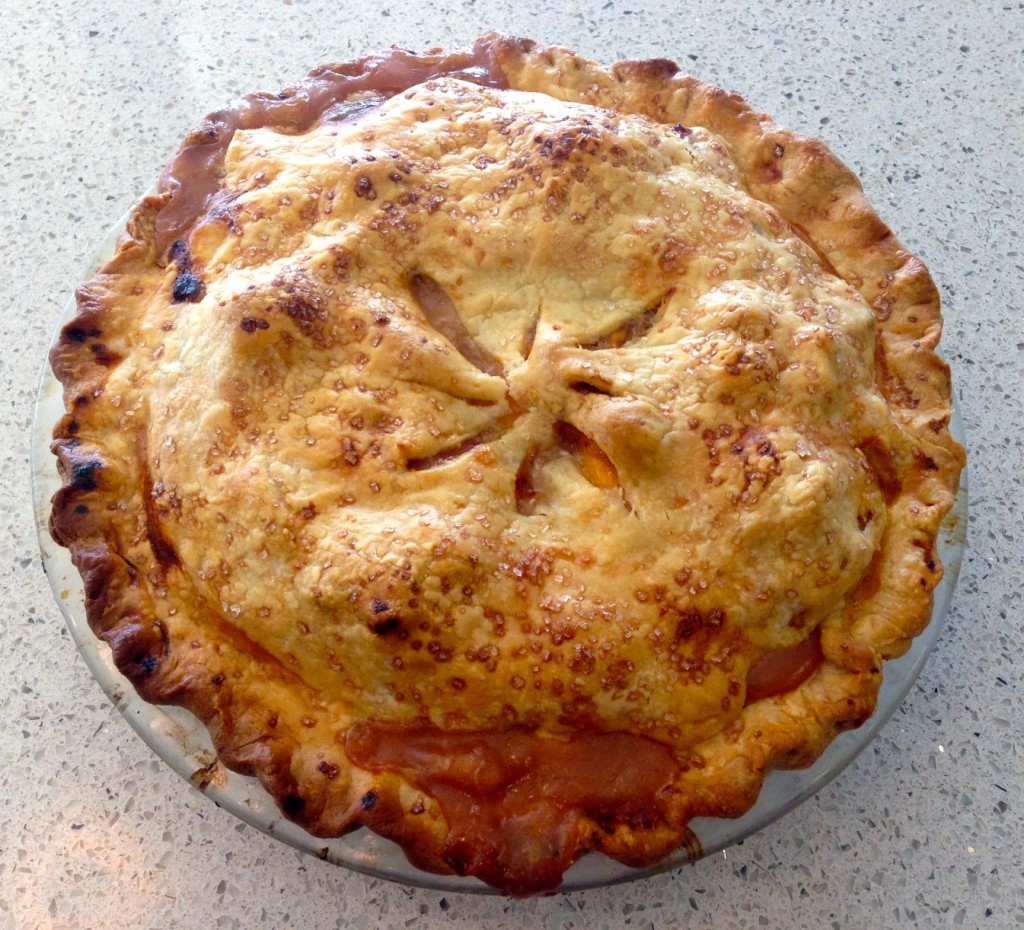
I’ve been practicing what I learned since taking the class last weekend. Today I made a peach rhubarb pie and I’m pretty proud of it. Bring on the holiday pie baking!

Comments