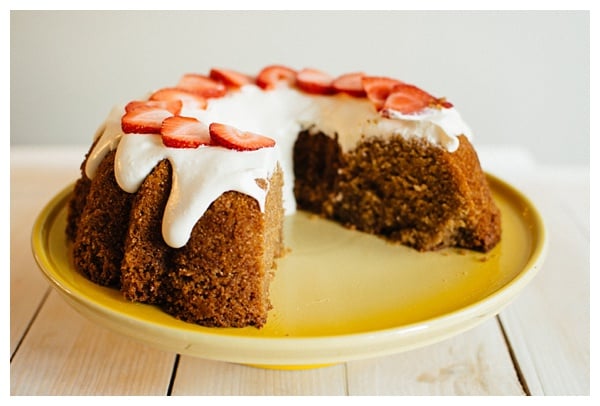
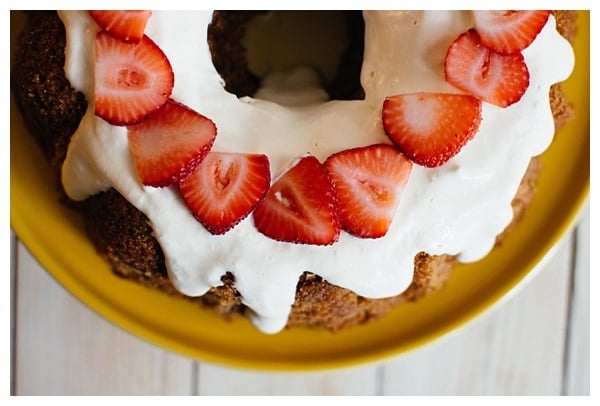
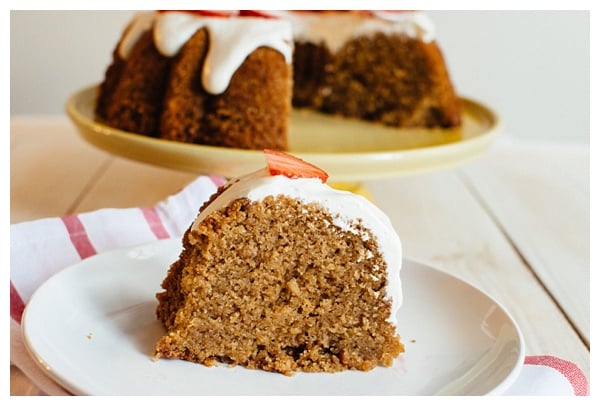
Whole Wheat Pound Cake — an old fashioned pound cake with nutritious whole wheat, toasty muscovado brown sugar, and rich creme fraiche. 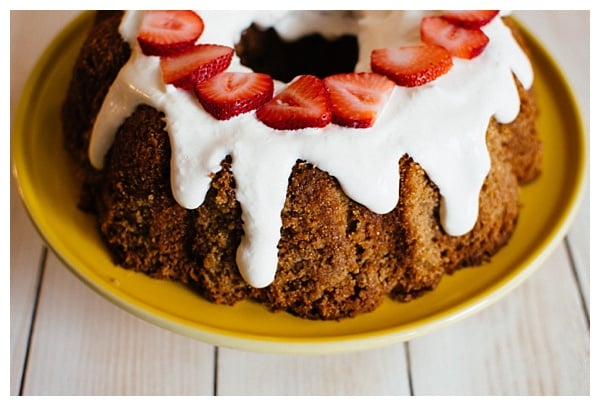
Last year, while on a food tour of Berlin, I visited Weichardt-Brot to try organic whole grain German breads. This bakery is known for using whole grains and even mills their own flour in an attached workshop. It was a brisk morning but we happily stood outside the window and watched the bakers grinding the grains into fresh whole grain flour. By milling the grain themselves, Weichardt-Brot ensured the most nutritious and flavorful flour. With just a few bites, the difference was evident in the flavor of their breads and it was no surprise why they are often considered some of the best in Berlin.
The idea of milling flour right before using it was novel to me. I’d never milled flour myself and I hadn’t seen it happen at many bakeries in the US. The experience at the bakery in Berlin has stuck in the back of my mind and I’ve been meaning to learn more about grinding grains at home. The perfect opportunity arose when I was asked to test the Mockmill grain grinding attachment for stand mixers.
Jump to the end of this post for details on an exclusive deal to get $80 off of starter kits through August 31st. Click here to visit the Mockmill website and use the discount code thehungrytravelerblog.
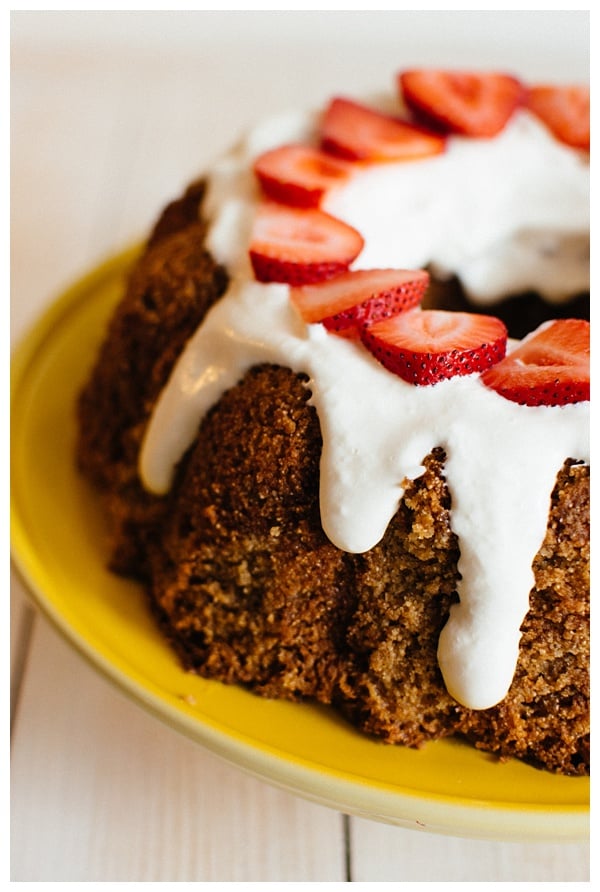
Baking bread is the typical thing to do with whole grain flour. However, it’s summer and 95 degrees in Ohio and that just didn’t feel like whole grain bread weather to me. I decided I would make a whole wheat pound cake instead.
Mockmill allows you to turn your stand mixer into a genuine stone flour mill. You pour the whole grains in the top funnel, they pass through the stone mill, and then fresh flour flows down the chute into the mixer bowl.
It took less than 2 minutes to get the Mockmill set up and ready to go. All you have to do is screw it into the Kitchenaid mixer. The best part is that it’s constructed in a way that prevents you from doing it wrong. I appreciate that the engineers design a product that’s impossible for the consumer to screw up. They could teach Ikea a thing or two.
I poured in the wheatberries, turned on the mixer, and seconds later I had flour. It couldn’t have been easier.
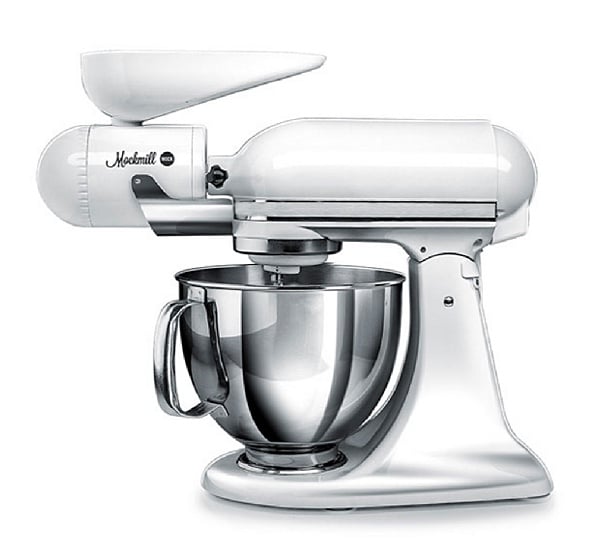
Photo Credit: Mockmill
If you want to see the Mockmill at work, I shot this short video while I was grinding some grains for the whole wheat pound cake.
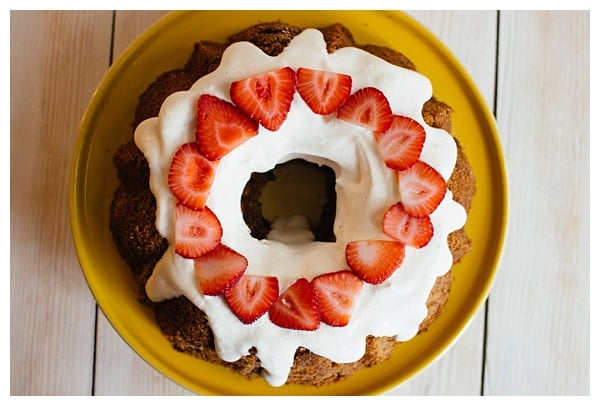
Why Mill Your Own Flour?
- Nutrition — Whole grains contain a rich supply of protein, fiber, vitamins, minerals, enzymes, and oils, but they often disappear during the commercial milling process. By milling your own flour, you can control the process and keep the valuable nutritious elements in the flour.
- Trust — Most commercial whole wheat flour has faced as much processing as white flour. Some whole wheat products are made from white flour with just enough bran added to make them look wholesome. By milling your own flour, you know exactly what you’re getting.
- Freshness — The nutrients in flour begin to degrade the moment they are exposed to air. If they are exposed to heat during milling or the transportation process, they will break down even more. If you grind your grain right before using it, you know you’re getting the freshest flour possible.
- Flavor — The same over-processing that destroys nutrients also destroys flavor. If you grind your own, you’ll have great flour that is fresh and full of flavor. You’ll notice fuller, nuttier, and more complex notes in your flour.
- Creativity — When you grind your own flour, you can get creative and mix different grains. The possibilities are endless and you can start incorporating freshly ground flour into your favorite recipes such as whole wheat pound cake. It’s easy to store small quantities of special grains and grind them when needed. This will ensure your flour is always fresh and fragrant!
- It’s Fun and Easy — Seriously, grinding your own wheat is incredibly simple. It’s also fun to serve your friends a whole wheat pound cake and then tell them you ground the flour yourself. They will be impressed!
Much of this information is from Flour Power — A Guide to Modern Grain Milling by Marleeta Basey. The book is out of print but copies of a special reprint are included in the Mockmill starter kit. See below for more information.
 Mockmill Pros and Cons
Pros
- It’s extremely easy to use.
- You get a genuine stone mill in your kitchen and that is really cool!
- It’s honestly just fun!
- You can expand your culinary and baking repertoire and learn a new skill.
- Clean up is a breeze. Just brush away any excess flour.
- The attachment is easy to take apart and put back together. They made it in a way where you can’t mess it up.
- It’s heavy and a bit bulky but the attachment itself is pretty compact and easy to store.
- The Mockmill is noisy but it’s not piercingly loud. I could still hear the tv over it.
- It doesn’t make a mess and all of the flour goes right into the mixer bowl.
- You can adjust the grade of the grind from very fine to coarse.
Cons
- The process of grinding flour is a bit slow but I think that’s just the nature of the beast. Grinding the grains is hands off, so you can do something else while the machine is working.
- I wish it came with a storage case so I could keep it protected and all of the parts intact while it’s not in use.
How to buy the Mockmill
Mockmill is offering a special summer promotion ($80 discount plus free stuff!!) for readers of my blog. Under this promotion, there are three different starter kits available for purchase at the price of $179. This is a great deal because the Mockmill alone usually sells for $229.
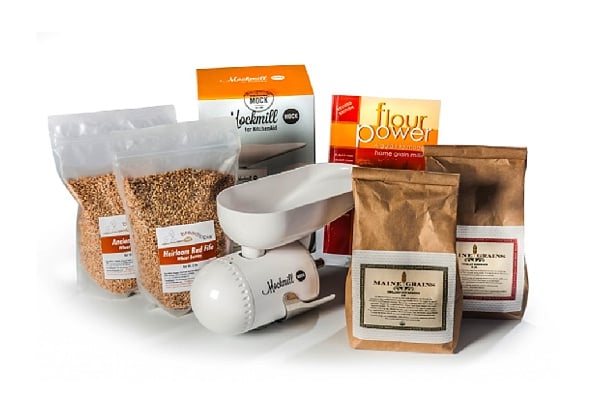
Photo Credit: Mockmill
Each kit contains the following:
- Mockmill — grain milling attachment for stand mixers
- Flour Power by Marleeta Basey — this book offers a comprehensive introduction to home milling. It’s out of print but the creators of Mockmill are having more copies printed just for this promotion.
- An assortment of whole grains — this is what differs between the three different kits so be sure to pick the one best for you.
- Free Shipping
If you’re interested in purchasing a Mockmill, click here to use this special promo link and enter the code thehungrytravelerblog when prompted during check out.
These kits typically sell for $259 but the code will take $80 off the price of the starter kit.
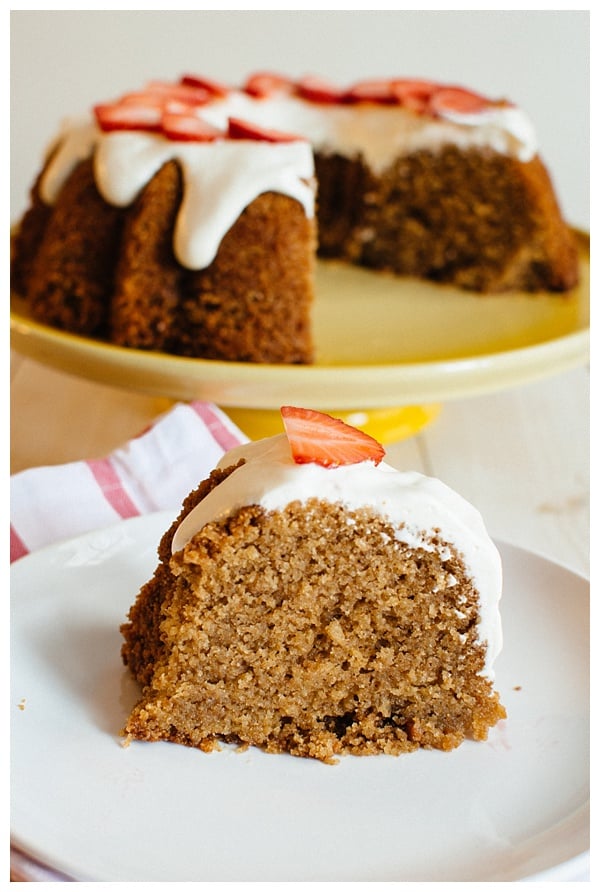
Whole Wheat Pound Cake Recipe
Yields One 10-inch bundt cake
Ingredients
339 grams (3 cups) freshly ground soft white wheat flour
1/4 teaspoon baking soda
1/2 teaspoon kosher salt
1 pound (454 grams) unsalted butter, softened
320 grams (1 1/2 cups) muscovado sugar
300 grams (1 1/2 cups) granulated sugar
6 eggs, lightly beaten
1 teaspoon vanilla extract
1 cup sour cream
Whipped cream, for serving
Sliced strawberries, for serving
Instructions
Preheat the oven to 350 degrees F with a rack in the center. Lightly spray a 10 inch bundt pan with cooking spray.
In a medium bowl, whisk together the flour, baking soda, and kosher salt.
In a mixer fitted with the paddle attachment, on medium-high speed, beat the butter and sugars until the mixture is light and fluffy, about 5 minutes.
Mix in the eggs, one at a time, mixing well between each addition. Stop the mixer occassionally and scrape down the sides and bottom of the bowl.
With the mixer on low, gradually add in half of the dry ingredients followed by half of the sour cream. Stop the mixer and scrape down the sides of the bowl. With the mixer on low, add the remaining flour, followed by the sour cream, and the vanilla.
Pour the mixture into the prepared pan. Bake for 45 minutes to 1 hour or until a cake tester inserted into the center comes out clean. Let cool for 30 minutes before inverting the pan and tapping the cake out onto a serving platter. Serve the cake with whipped cream and fresh strawberries.
Notes
This recipe was adapted from a recipe posted by Gigmaster on this forum: http://breadbeckers.mywowbb.com/forum9/231.html
Disclosure: I received a Mockmill in exchange for this review. If you purchase anything using the link above, I will receive a small commission. All opinions are my own.


 Save Recipe
Comments