
Last Thursday evening I taught my first cooking class called “It’s All About the Pie Crust” at Cooks’Wares in Mongtomery, Ohio.
I was nervous in the days leading up the the class. Having never taught a cooking class before, I was not sure what to expect. I feared losing track of time, worried about forgetting ingredients, and was scared I would run out of things to say (which has never been an issue for me!).
Luckily, the class went well, even better than I expected. Time did move quickly and I did forget one ingredient but I never ran out of things to say. What I didn’t expect was how much fun I had. I couldn’t have asked for a better group for my first class. The students were engaged, asked questions, and filled the room with a positive energy. It was rewarding to see how excited everyone was when they rolled the dough out and fitted into their pie plates successfully. Several students said they had never had much luck with pie and the class gave them the confidence to try baking pies at home.
Originally, I had planned on making a double crust peach pie in the class and having each student make a mini version to take home. In the days leading up to the class, I had a hard time finding nice peaches, and honestly, became intimidated by the thought of blanching, peeling, and slicing peaches for 16 pies by myself.
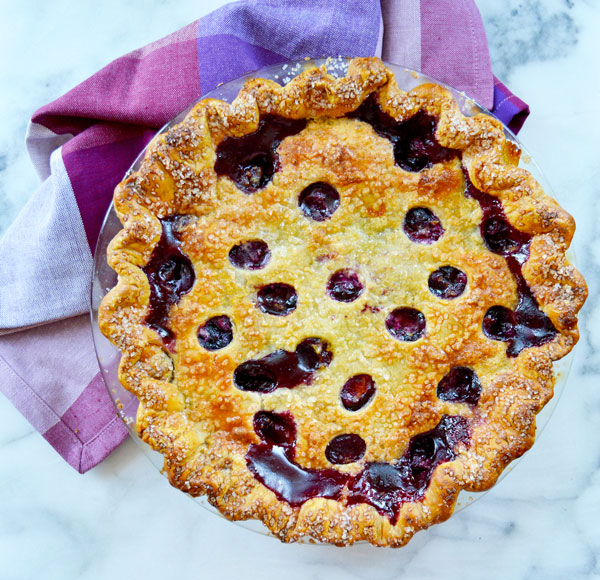
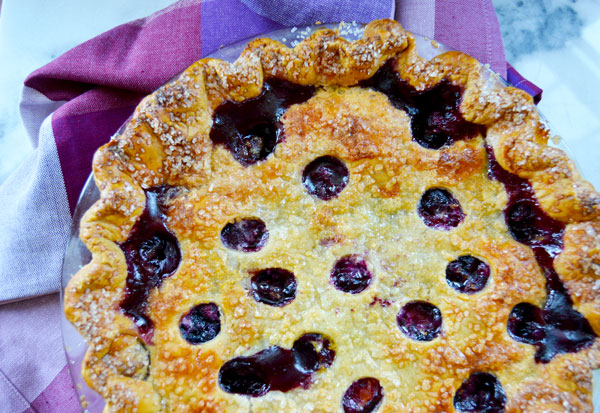
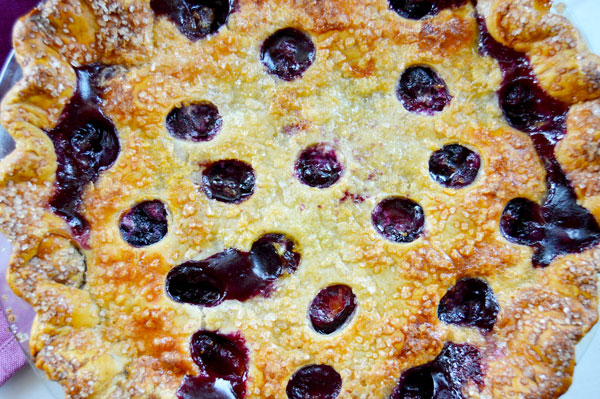
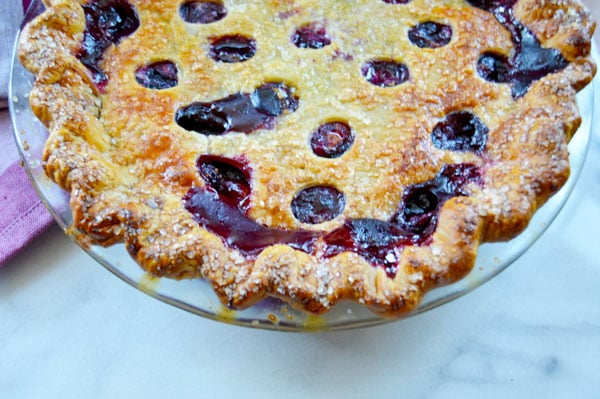
I made a last minute decision and ended up choosing a mix of blueberries and peaches for the pie and I’m happy I did. The color of this pie is beautiful and the blueberries add a nice tartness to balance the sweet peaches.
Before starting this recipe, it’s wise to refresh your memory and look over these pie dough tutorials:
All Butter Pie Crust – Part 1: Mixing the Dough
All Butter Pie Crust – Part 2: How to Roll Out Pie Dough
Here are a few other tips:
– When mixing the filling, use your hands to smash some of the blueberries. This releases juices and creates a jammy consistency which is more satisfying than biting into a pie with loose whole berries.
– Be sure to taste the filling before adding it to the pie. Depending on the ripeness of the fruit, you may wish to add a bit more sugar.
– Before adding the filling, sprinkle the bottom crust with 1 teaspoon of flour and 1 teaspoon of sugar. This helps thicken some of the fruit juices and keeps the bottom crust crisp.
– After adding the filling, dot the fruit filling with some softened butter.
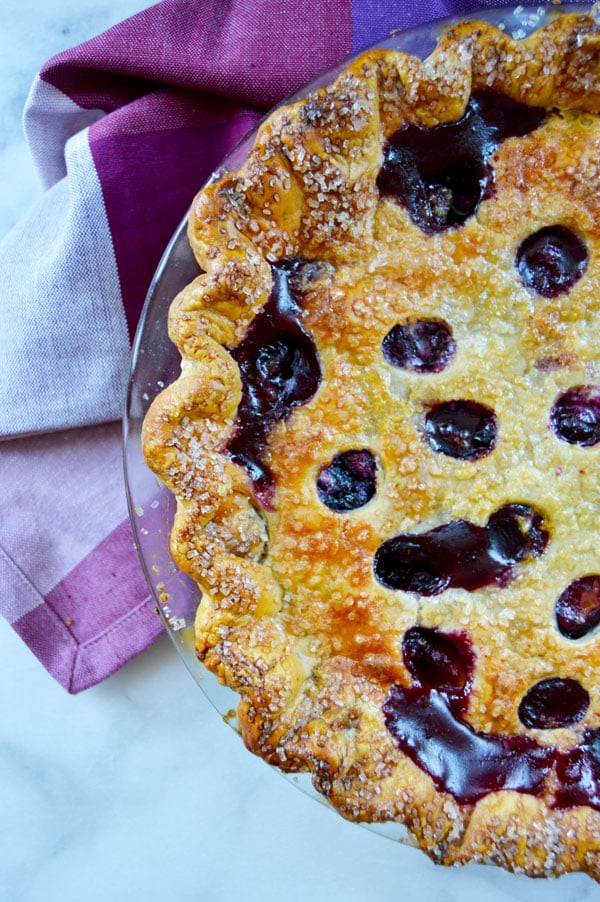
– If you would like, use a small cutter to decoratively cut shapes out of the top crust. If you do not wish to use a cutter, simply add a few vents to the top crust before baking.
– Chill the pie for about an hour before baking.
– Before baking, generously brush the crust and edges with egg wash and sprinkle them with crunchy sugar.
– Bake the pie to a deep golden brown. This can take over an hour so try not to get impatient towards the end. A deep golden brown crust tastes and looks better than a pale one.
The recipe below may look a bit long but please don’t be intimidated. It may be a lot of steps but none of them are hard. You could also break the work up over a few days. Here’s the general work flow for this pie:
– mix the dough for the crust and chill the dough (this step can be done up to three days in advance)
– roll out the bottom dough and fit to the pie plate (this can be done a day or two in advance)
– mix the filling, add it to the pie, and dot the top with butter
– roll out the top crust and fit it to the top of the pie
– crimp the edges and chill the pie (you can get the pie to this point and then refrigerate it for a day before baking)
– egg wash, sprinkle with sugar, bake
– let cool and enjoy!
Jordan Hamons | [The Hungry Traveler|http://www.thehungrytravelerblog.com" target="_blank]
Yields 9-
1 hr
1 hr, 10
2 hr, 10
 Save Recipe
Ingredients
For the crust:
2 sticks (227 grams / 8 ounces) unsalted butter, very cold
2 3/4 cups + 2 tablespoons (363 grams / 12.8 ounces) all-purpose flour
3/4 teaspoon kosher salt
1/4 teaspoon flaky sea salt (such as Maldon)
6-8 Tablespoons buttermilk (or water), very cold
For the filling:
1/2 cup (3.5 ounces / 100 grams) white sugar
1/2 cup (3.5 ounces / 100 grams) light brown sugar
1/4 cup cornstarch
1/4 teaspoon ground cinnamon
1/4 teaspoon freshly grated nutmeg
1/4 teaspoon kosher salt
2 pounds peaches, peeled, quartered, pitted, and each quarter cut into thirds (You should have about 2 cups (1 pound) of sliced peaches)
4 cup blueberries, rinsed and dried
1 teaspoon vanilla extract
1 tablespoon freshly squeezed lemon juice
2 tablespoons (1 ounce / 28 grams) unsalted butter, diced into small pieces
To assemble:
1 teaspoon granulated sugar
1 teaspoon all-purpose flour
Egg wash (1 egg whisked with 1 Tablespoon of water)
Crunchy sugar
Instructions
To mix the dough:
Take the butter and divide it into two parts: about three-fourths and one-fourth. Cut the larger portion (three-fourths) of butter into small pieces, about 1/4-inch cubes or smaller. Cut the smaller portion (one-fourth) of butter into a bit larger pieces, about 1/2-inch cubes. Place the diced butter into the freezer until you are ready to use it.
Combine the flour and salts in a medium mixing bowl and stir with a fork to distribute.
Add the larger portion of butter (the three-fourths portion that was cut into smaller 1/4 inch cubes) to the bowl. Quickly toss the butter to coat it with flour. Use your fingers to rub the butter pieces into the flour. Continue to rub the butter into the flour until no large chunks remain and the mixture looks like coarse meal.
Add the remaining butter (the one-fourth portion of larger 1/2-inch cubes) and use your hands to rub it into the flour. Continue rubbing the butter into the flour until it is in pea-sized pieces and the rest looks like coarse meal. You will be able to see visible chunks of butter and that is a good thing.
Make a well in the center of your bowl and pour in about half of the buttermilk. It should form a pool and not soak into the flour right away. This is how you know you did a good job working the butter into the flour.
Use a fork to gently toss the buttermilk into the flour mixture until the buttermilk is absorbed. Gradually add the remaining buttermilk 1-2 tablespoons at a time. Between additions, check the dough by squeezing a small amount in the palm of your hand. If it holds together easily, it is done. The dough is ready when it feels moist but crumbly and starts to form clumps. It should not feel wet but will hold together when pressed in the palm of your hand.
Turn the mixture onto your work surface and gently gather it into a small mound. Using the heel of your hand, push the dough away from you and smear the mixture across the surface of the table (this is a technique called frisage). Use your hand and continue smearing the dough outward until what was once a mound of dough is now completely flat and smeared across the table. You want it to lose the crumbly appearance and look more like supple dough. It will look marbleized with streaks of butter throughout and the edges should no longer be crumbly.
Gather the dough using a bench scraper and press it into a ball. Divide the dough into two equal portions and shape each ball into a flat, thick disk about 6 inches in diameter. Wrap each dish in plastic wrap and chill for at least 1 hour before rolling. While the dough is chilling, mix the filling.
To mix the peach filling:
Preheat the oven to 375 degrees and arrange a rack in the center.
In a medium bowl, whisk together the sugars, cornstarch, cinnamon, nutmeg, and salt.
In a medium bowl, mix together the peaches, blueberries, vanilla extract, and lemon juice. Use your hands to smash some of the blueberries to create a jammy consistency. Pour the dry ingredients over the fruit and toss everything together until the mixture is thoroughly combined and the fruit is coated with the dry ingredients. Taste and adjust the seasonings as necessary.
To roll out the dough:
When ready to roll out the dough, remove the chilled disks of dough from the refrigerator. Working with the first disk, while it is still in the plastic wrap, use a rolling pin to gently thump the disk of dough a few times until it is pliable and flexible.
Unwrap the dough and place it in the center of a work surface lightly dusted with flour. Lightly dust the top of the dough and your rolling pin to prevent sticking.
Place your rolling pin horizontally across the center of the dough and begin rolling upwards by pressing the rolling pin away from you (towards 12 o’clock) in one even stroke. Stop before you roll over the edges, leaving about 1/4-inch unrolled.
Lift the pin, spin the dough 1/8 turn (somewhere between 1 o’clock and 2 o’clock) and roll upwards again. Continue rolling in single upwards strokes and rotating the dough 1/8 turns until the dough is about 1/8-inch thick and about 2-3 inches larger than your pie plate. Be sure to add more flour to your work area or rolling pin if the dough starts to stick in any spots.
When the dough reaches the desired size, brush away excess flour from the top. Fold the dough in half and brush away more flour. Finally, fold the dough in half one more time (it will now be in quarters) and brush away the last bits of flour.
Transfer the folded dough to your pie plate, position it evenly, and unfold it. Gently ease the dough into the pie plate, adjusting it to fit evenly and press it down into the bottom edges. Do not stretch or pull. It should fit loosely and be comfortably resting in the plate.
Once you have the bottom crust positioned in the pan and pressed into the edges, trim the edge to allow 11/2 inches of excess overhang.
Use the same rolling method to roll out the top crust until it is 1/8-inch thick and about 11/2 inches larger than the pie plate. OPTIONAL - Once you have the dough rolled out, use a small circle or other shaped cutter to make cutouts all over the crust. Leave a 2-inch border with no cutouts around the edges.
To assemble the pie:
Sprinkle the bottom of the pie crust with 1 teaspoon of all-purpose flour and 1 teaspoon of granulated sugar. This helps thicken the juices and keeps the bottom crust crisp. Fill the pie with the peach filling. Depending on how juicy it looks, you may want to refrain from adding all of the juices. A little extra is fine but the fruit should not be swimming in juice. Scatter the diced butter over top of the fruit.
Brush the edge of the bottom crust with egg wash and place the top crust over the filling. Trim the top crust to 1 1/2 inch overhand and pinch the top and bottom edges together. Roll both crusts together underneath to form an edge (roll them like a sleeping bag). Crimp the edges or finish with your desired decorative edge. Brush the edges and the top crust with egg wash and sprinkle with crunchy sugar. Use a paring knife to cut vents in the top crust (if you did not already make cutouts). Freeze the pie for 30 minutes or chill in the refrigerator for one hour.
To bake the pie:
Place the pie on a baking sheet and place the baking sheet on the middle rack in the oven. Bake for about 1 hour – 1 hour and 20 minutes or until the crust is a deep golden brown and the fruit is bubbly. Remove the pie from the baking sheet and place it on a cooling rack. Let cool to room temperature before slicing.
Notes
Storage: The baked pie will keep at room temperature for 2-3 days. An unbaked pie can be stored in the freezer for up to 1 week.
Comments