There are a few kitchen tasks that I absolutely dread doing: peeling and deveining shrimp, cutting brussels sprouts, trimming sugar snap peas, and peeling fava beans are a few that come to mind. Usually, it’s those menial, repetitive processes that take all day and bore you out of your mind.
But, there are also things that I look forward to cooking no matter how many times I’ve made them or how simple the task. Chocolate covered strawberries fall in that category.
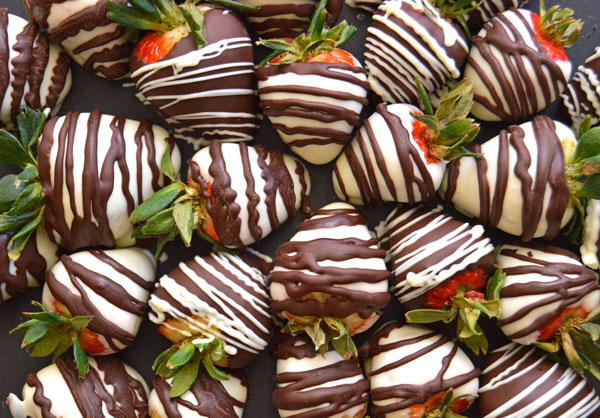
I love the process of melting the chocolate, dipping the berries, and then drizzling the strawberries with more melted chocolate or sometimes decorating them with sprinkles, crushed pretzels, or toasted nuts. No matter what you do, they always look elegant and pretty.
Chocolate covered strawberries work for so many occasions – Valentine’s Day, dinner parties, a healthy dessert, cocktail hours, holiday parties – and I’ve even heard reports that chocolate covered strawberries work as an aphrodisiac. Whatever your goal is, with a little bit of work, you get a big reward.
CHOCOLATE COVERED STRAWBERRIES
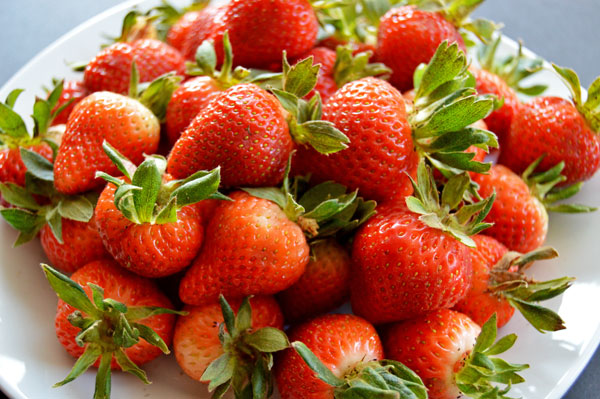
Start with the best strawberries available. Wash and dry them or simply wipe off any dirt. If you wash them, you need to dry them thoroughly. If any moisture is left on the berries, it could cause the chocolate to seize and become grainy when you dip them.
I like to pull the stems and leaves upwards and gently twist them. This keeps them out of the way and gives a sort of handle to use when dipping the berries in the chocolate. Try to pull off any dead or overgrown leaves that may look unappetizing.
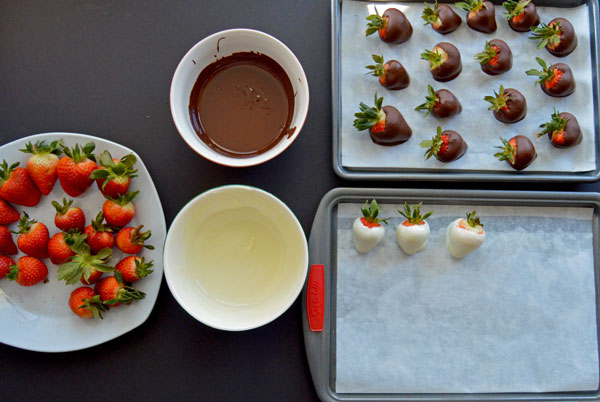
Set up an efficient work station before you start dipping. You will need the berries, both bowls of melted chocolate, and two sheet pans lined with parchment paper. A proper set up allows you to work cleanly and quickly without getting chocolate drips everywhere.
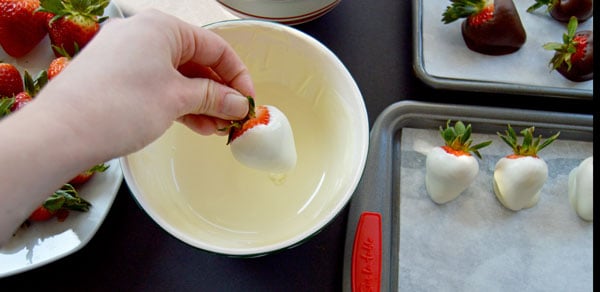
It’s important to work with a bit of speed or the chocolate will start to cool off and thicken, making it difficult to coat the strawberries.
There are different ways of coating the berries with chocolate. Some people dip them straight into the bowl and spin them around and others rock the berry back and forth in the chocolate. I tend to do a sweeping motion, where I drag the strawberry through the chocolate until all sides are covered. Lift the berry out of the chocolate and let the excess drip off for a minute before placing it on the sheet tray.
There are different thoughts on how much of the berry you should cover. Some like to leave some of the red fruit showing but I like to almost completely enrobe the strawberry in chocolate. There’s no wrong way here and it’s completely up to your preference .
Dip all of the dark chocolate berries first and let them set up for a minute while you work on dipping the white chocolate berries. Going back and forth will create a mess and cause the berries to look messy. Of course, you can just do one type of chocolate but I like the look of the combination of white and dark chocolates.
While you let the chocolate set up, pour the remaining white and dark chocolate into separate piping bags. You can also a ziploc bag and cut the corner off, which is what I did for this post, but I believe that piping bags work far better and are worth the few dollar investment. It’s harder to control the pressure with the ziploc and your lines may get squiggly, as mine did.
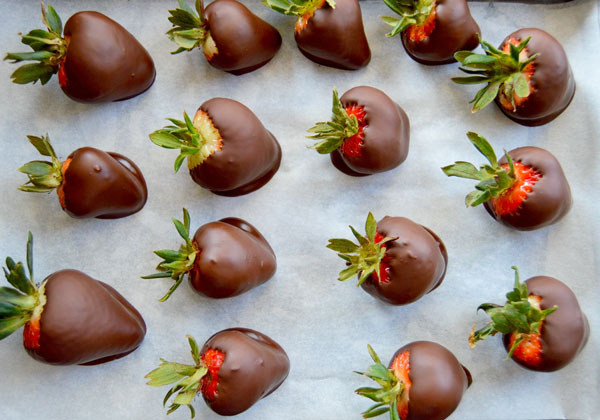
You truly cannot mess these up and they will look beautiful no matter how messy the lines are. There are three tricks to getting the lines the way you want them – 1) the size of the hole on your piping bag, 2) how fast you move the piping bag back and forth over the fruit, and 3) the pressure you put on the piping bag.
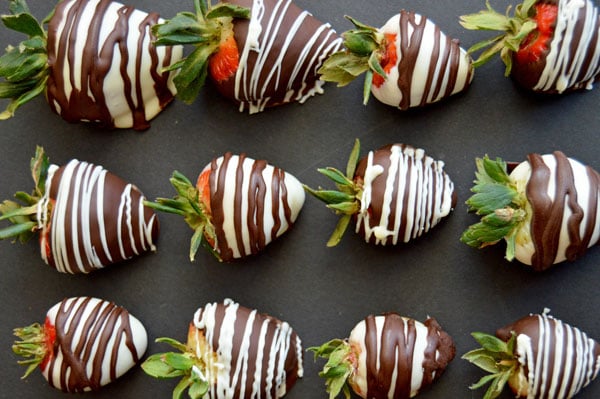
For neat, thin lines, cut a small hole and move the bag back and forth very quickly. If you would like thicker lines, cut a little bit larger hole and move the bag slower and more intentionally. You need to apply some pressure and gently force the chocolate out of the bag, instead of just letting it flow slowly. It just takes practice and you’ll eventually get the feel for the rhythm and pressure.
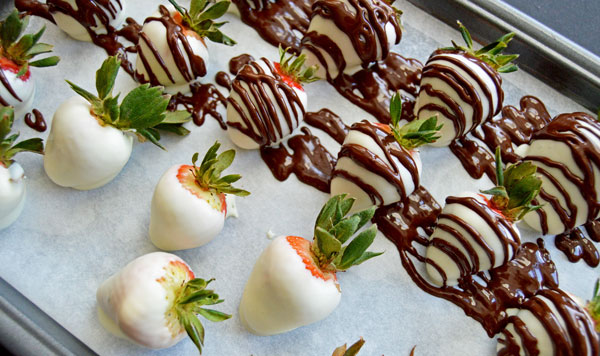
The drizzle in these photos is a little bit thicker and squigglier than I like. I was trying to take photos while piping and it did not go as well as I would have hoped. But, they look good no matter what and it’s fun to try different styles.
Try drizzling white chocolate on white chocolate and dark chocolate on the dark chocolate for an elegant and sophisticated look. For a more fun feel, you can cover the berries in sprinkles while the chocolate is still wet.
Ingredients
2 Pounds strawberries, washed and dried
10 ounces bittersweet or semisweet chocolate chips
10 ounces white chocolate chips
Instructions
Fill a saucepan with a few inches of water and bring to a simmer over medium heat. Place the chopped chocolate in a heatproof bowl and place the bowl over the simmering water. Stir the chocolate until melted and smooth, watching carefully to prevent the chocolate from burning or coming in contact with water (even a tiny drop can cause the chocolate to seize and become grainy). You'll also want to make sure the water isn't boiling or touching the bottom of the bowl. Carefully remove the bowl from the heat (it will be hot), using an oven mitt or towel to prevent yourself from getting a burn from the steam.
In another bowl, repeat the melting process with the white chocolate.
While the white chocolate is melting, line two baking sheets with parchment or silicone baking mats. Divide the strawberries in half and set half aside to use with the white chocolate.
Working with the first half of the strawberries, hold the berry by the stem and dip it in the dark chocolate. Try to cover it with chocolate almost up to the stem and then lift and twist the berry and let any excess chocolate dip into the bowl. Lay the strawberry on the parchment-lined sheet tray. Repeat the dipping process with the dark chocolate and the remaining first half of the berries.
Next, dip the reserved half of the strawberries in the white chocolate, following the same process that was just used for the dark chocolate.
To decorate the dark chocolate berries, carefully pour the white chocolate into a disposable piping bag or ziploc bag. Be sure to fold at least the top 2-inches of the bag down before pouring in the chocolate. This prevents the chocolate from coming out the top of the bag and making a mess all over your hands. Trim the corner of the bag to make a small opening and, using a rapid back-and-forth motion, quickly drizzle the white chocolate across all of the dark chocolate covered berries.
To decorate the white chocolate berries, pour the dark chocolate into a piping bag and quickly drizzle the dark chocolate across the white chocolate strawberries.
Refrigerate the strawberries for at least 30 minutes, or until the chocolate is set and slightly hardened. Keep refrigerated until serving.
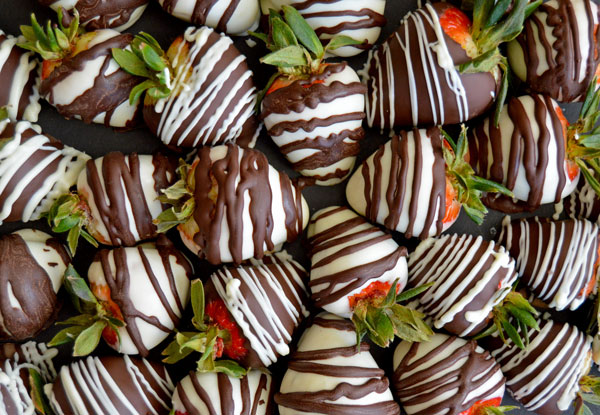
To serve, arrange on a tray, alternating white chocolate and dark chocolate berries as shown in the photo.
The berries are best served the day they are made. They can be kept in the refrigerator for up to two days, but may become slightly soggy.

 Save Recipe
Comments